The wait is over! We are thrilled to announce that you can now connect Timely with QuickBooks Online for accurate, effortless invoicing. 🎉
We’ve been working on this one for quite a few weeks now — beta testing behind the scenes and making sure everything runs like clockwork — and as your most-requested feature we can’t wait to hear what you make of it!
Being generous souls, we’ve also snuck in some extra goodies this month, including a new and improved version of “planned time” from your Hours page. Check out what’s new!
Create accurate invoices in a click
Forget CSVs, forget PDFs, forget XLS reports — you can now create invoices for all your unbilled work in Timely and send them to QuickBooks Online in one bulk action. Gone are the days of importing Timely report data into QuickBooks and manually marking your hours as “Billed” once invoiced — Timely now handles the whole admin slog for you!

If you are on a Premium or Unlimited plan, you’ll see that you have gained a brand new page in Timely called “Invoices”. This is your central hub for creating and managing invoices between Timely and QuickBooks. Admins just need to head to Settings Integrations to set up the integration and you can get started!

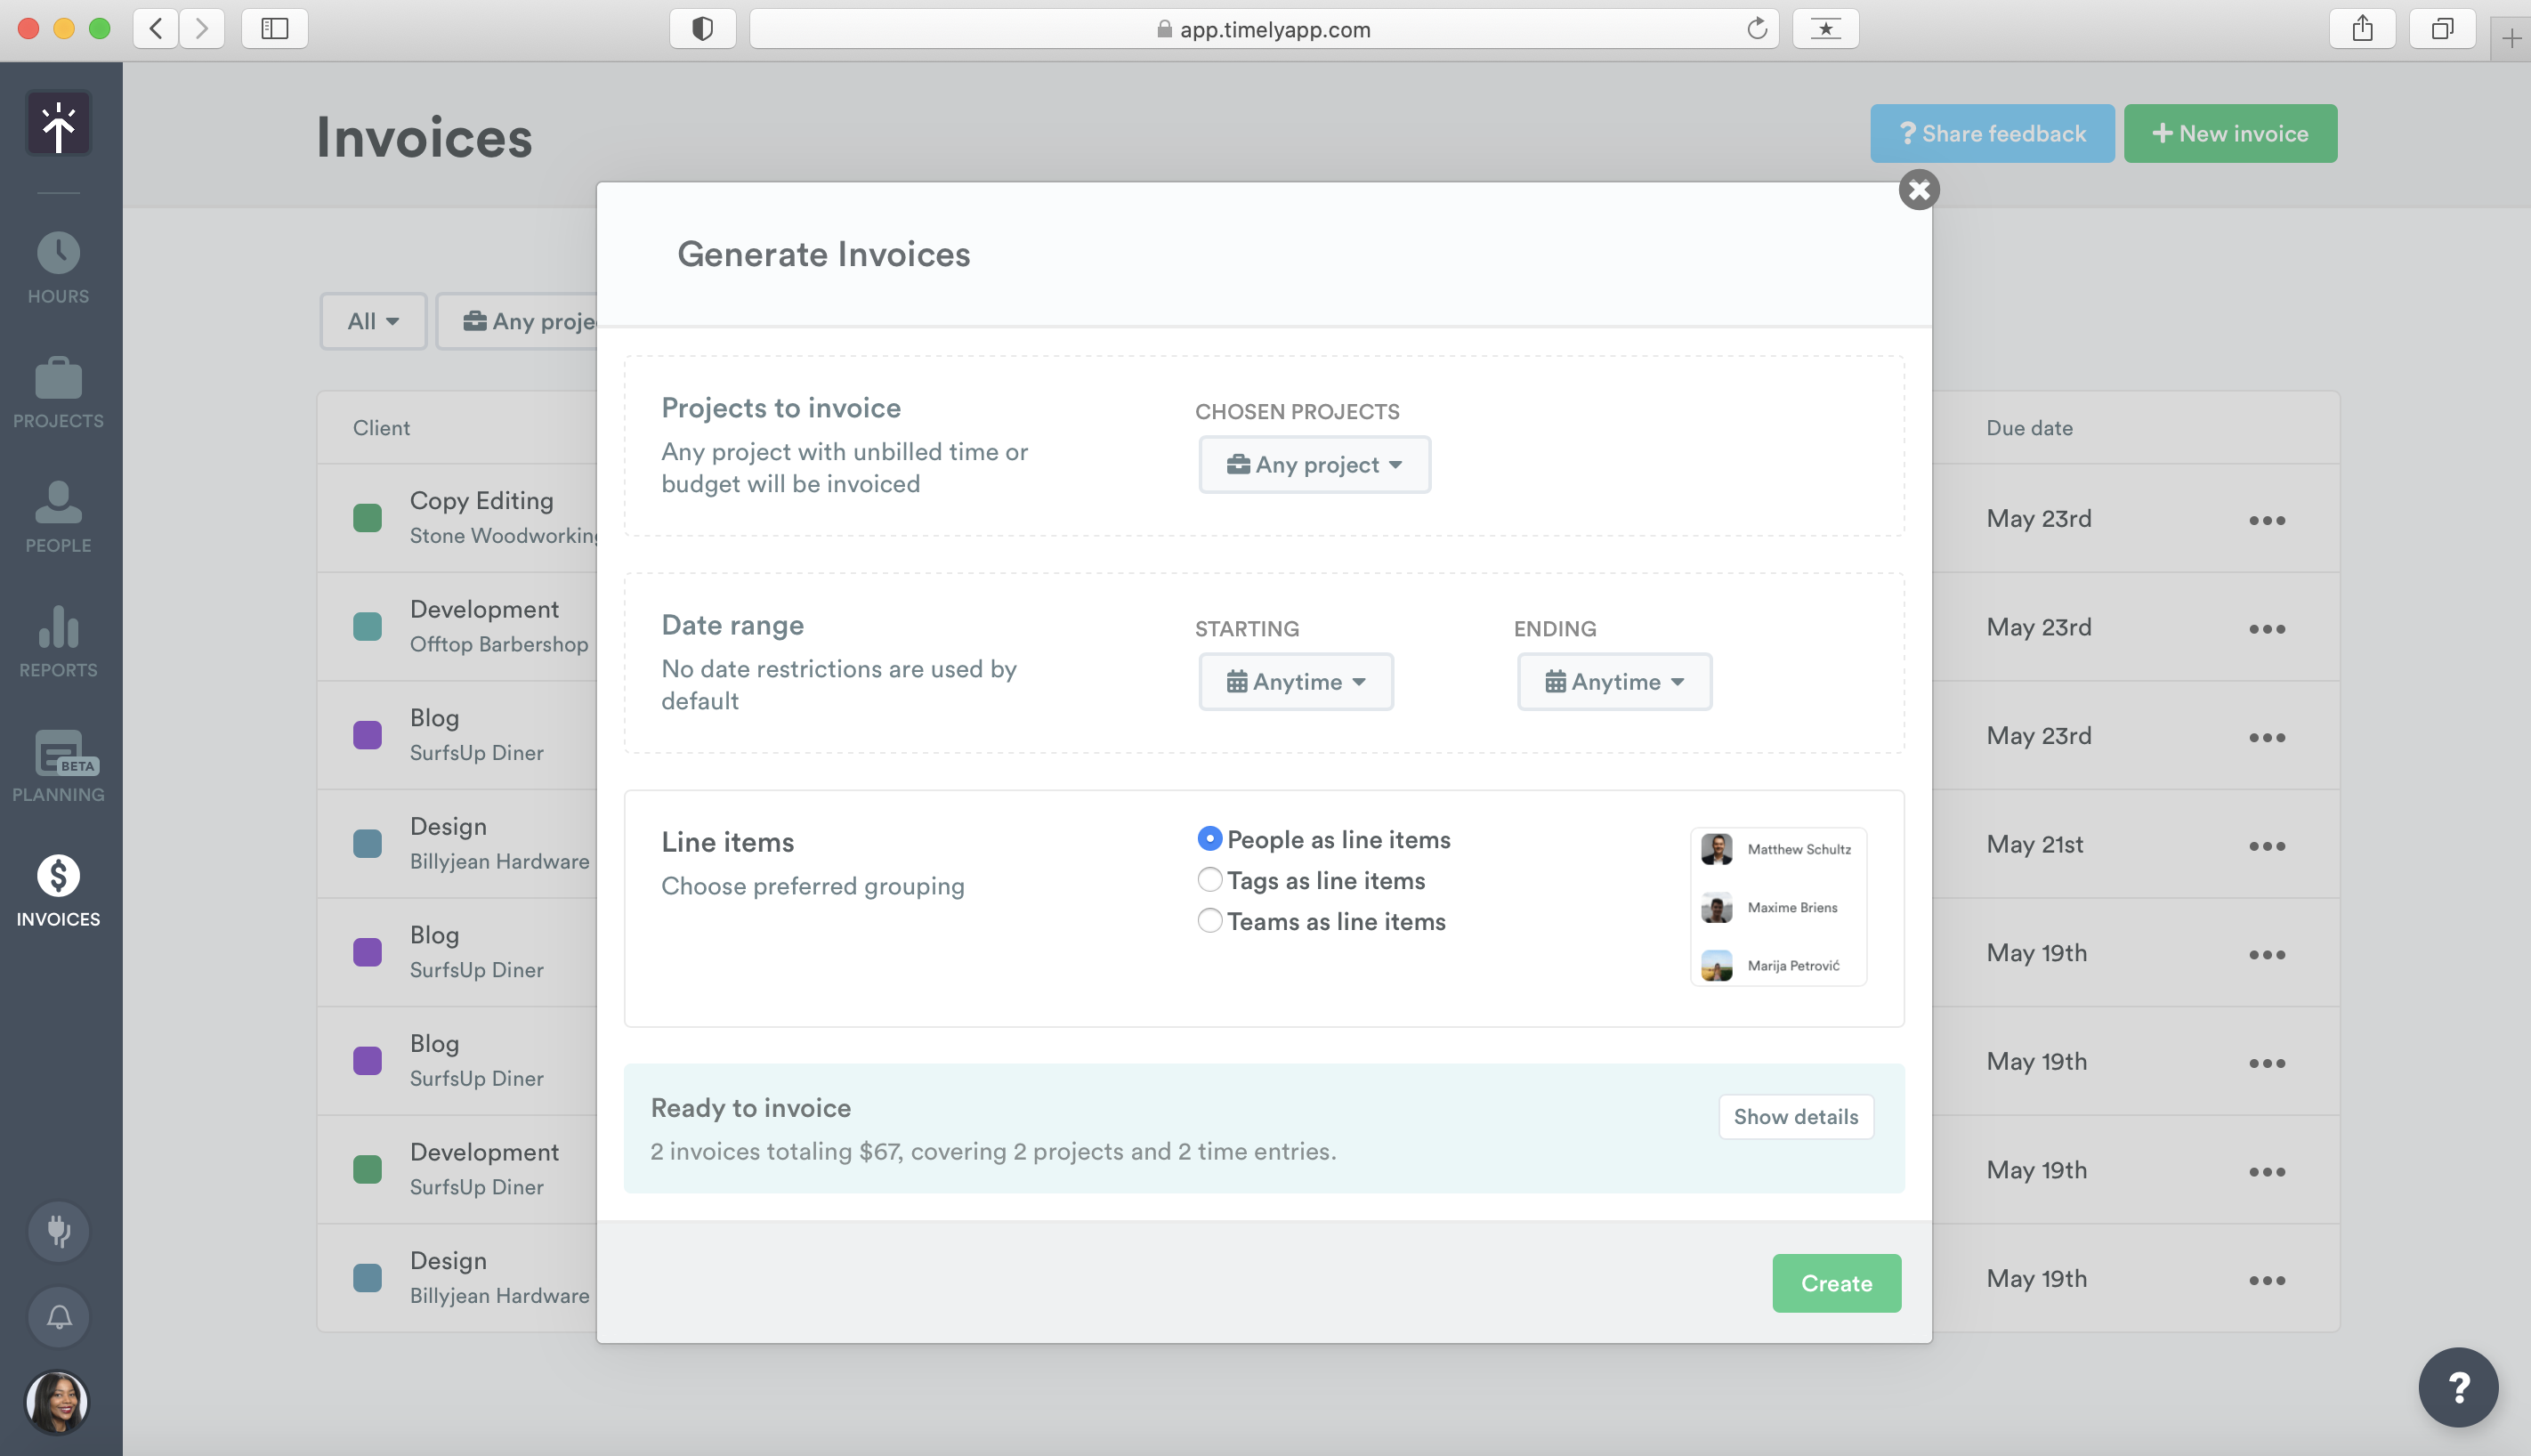
Every draft invoice you create in Timely will appear in your Invoices page against a real-time QuickBooks status, so you don’t have to keep hopping between both apps. Just click the big, green “+ New invoice” button when you’re ready to create an invoice.

We want to give you as much flexibility around invoicing as possible, which is why you can choose to either invoice for all unbilled entries across your client base or all unbilled entries for a specific project. You can also choose the level of granularity you want to show in line items. If you prefer to invoice based on a project budget instead of unbilled entries, you can do that too!
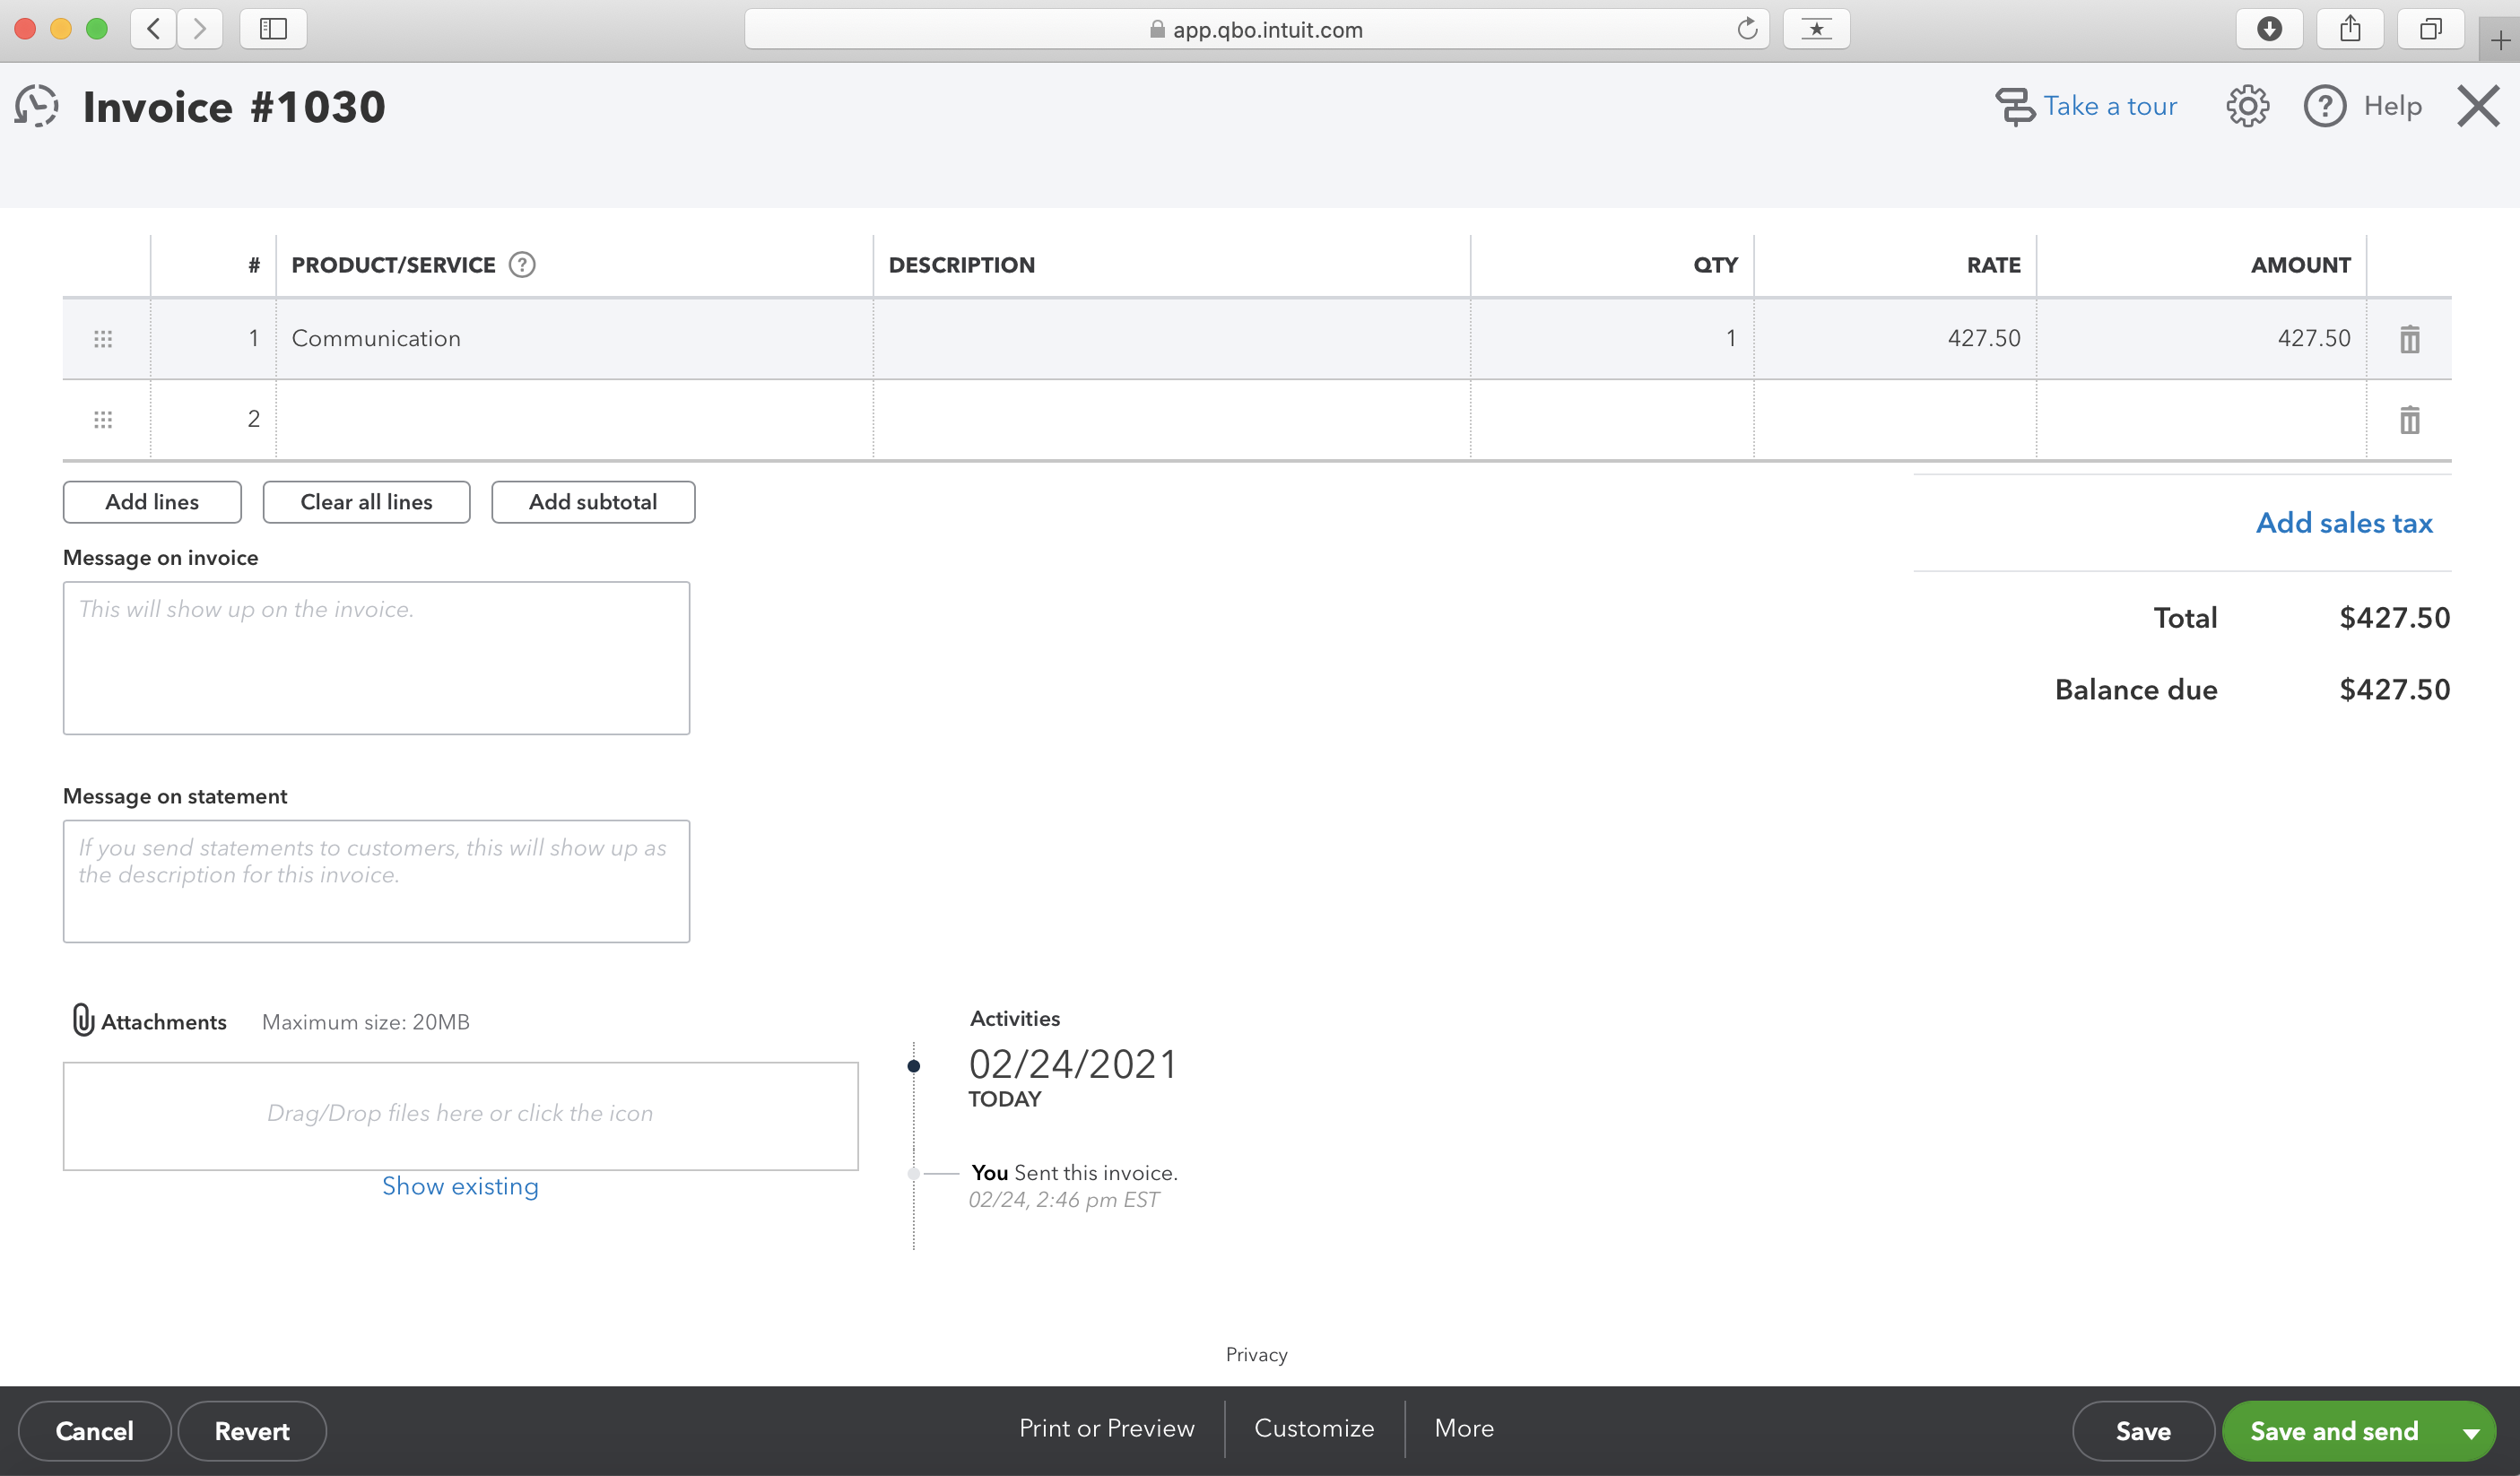
Once you’ve selected your invoicing preferences, click “Create”, review your draft invoice and hit “Send to QuickBooks”. From QuickBooks Online, you can then add custom details — like PO numbers, VAT and discounts — before sending your invoice on to your client.

As your most-requested feature, we’re ridiculously excited to share this with you. This integration will help you leverage the accuracy of automatic time tracking without the pain of manually connecting data with specialist accounting tools. It’s another way we hope to streamline the essential business admin that gets in the way of important work.
🛠 Just head to Settings Integrations to set up the integration or check out this walkthrough guide to get started.
Want to learn more about the integration or ask us a question? Join a live 20-minute demo on Tuesday, 4th May or Thursday, 6th May to see our QuickBooks Online integration in action.
This integration is currently only available on our Premium and Unlimited plans. If you are an Admin user, head to Settings Subscriptions to upgrade your plan.
Quickly plan time for the week ahead
Due to popular demand, we have just refreshed a much-loved planning feature on the Hours page, which we are including as core functionality across all of our plans!
Planned time is ideal for time blocking your week ahead, or simply visualizing your schedule and availability. You can also report on your planned time, which is handy for comparing the time you allocate for different bits of work against the time they actually take you. While ideal for individuals, Manager- and Admin-level users can also use this feature to plan time for people on their team — just drag and drop planned entries to quickly copy them between multiple calendars.
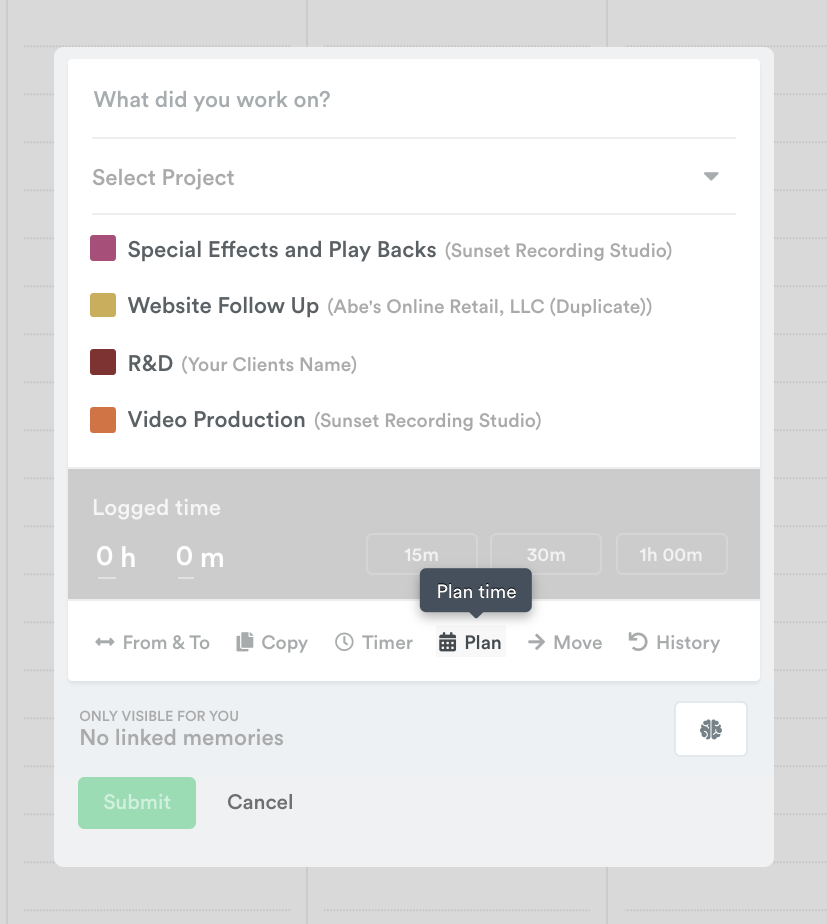
All the magic starts from your Hours page. When you go to create a time entry, you now have the option to save it as a plan:

Just enter what you plan to work on and for how long, and hit “Submit”. Your planned entry will appear chequered on your calendar, proportionate to the time you’ve allocated against it:

Once you’ve finished a piece of work, just update your planned entry to log time to it. This will change your entry to a solid colour, indicating it has been logged to your public timesheet.

You can plan work as far into the future as you like, including for other people on your team. Head to Company view to use our handy drag-and-drop shortcut to copy planned entries across people’s calendars (Option + click on Mac, Ctrl + click on Windows) — ideal for planning time against team meetings and other shared events.
Refreshing planned time is the start of something much bigger and infinitely more powerful. We have some very exciting planning-related news coming shortly, which will be of particular interest to teams looking to streamline workflow coordination and capacity planning. Keep your eyes peeled, ears to the ground!
Get the most out of Timely’s Zapier integration
Have you checked out our fabulous new Zapier integration yet? It lets you quickly create no-code automations between Timely and the rest of your tech stack to streamline the flow of data across your organization.
We know that getting your head around “Zaps” and “Zap templates” can be a bit tricky, which is why we’re holding live demos on Tuesday, 18th May and Thursday, 20th May to show you the ropes. We’ll explore the sheer number of small manual tasks you can automate, and answer all your burning questions in an open Q&A session at the end.


